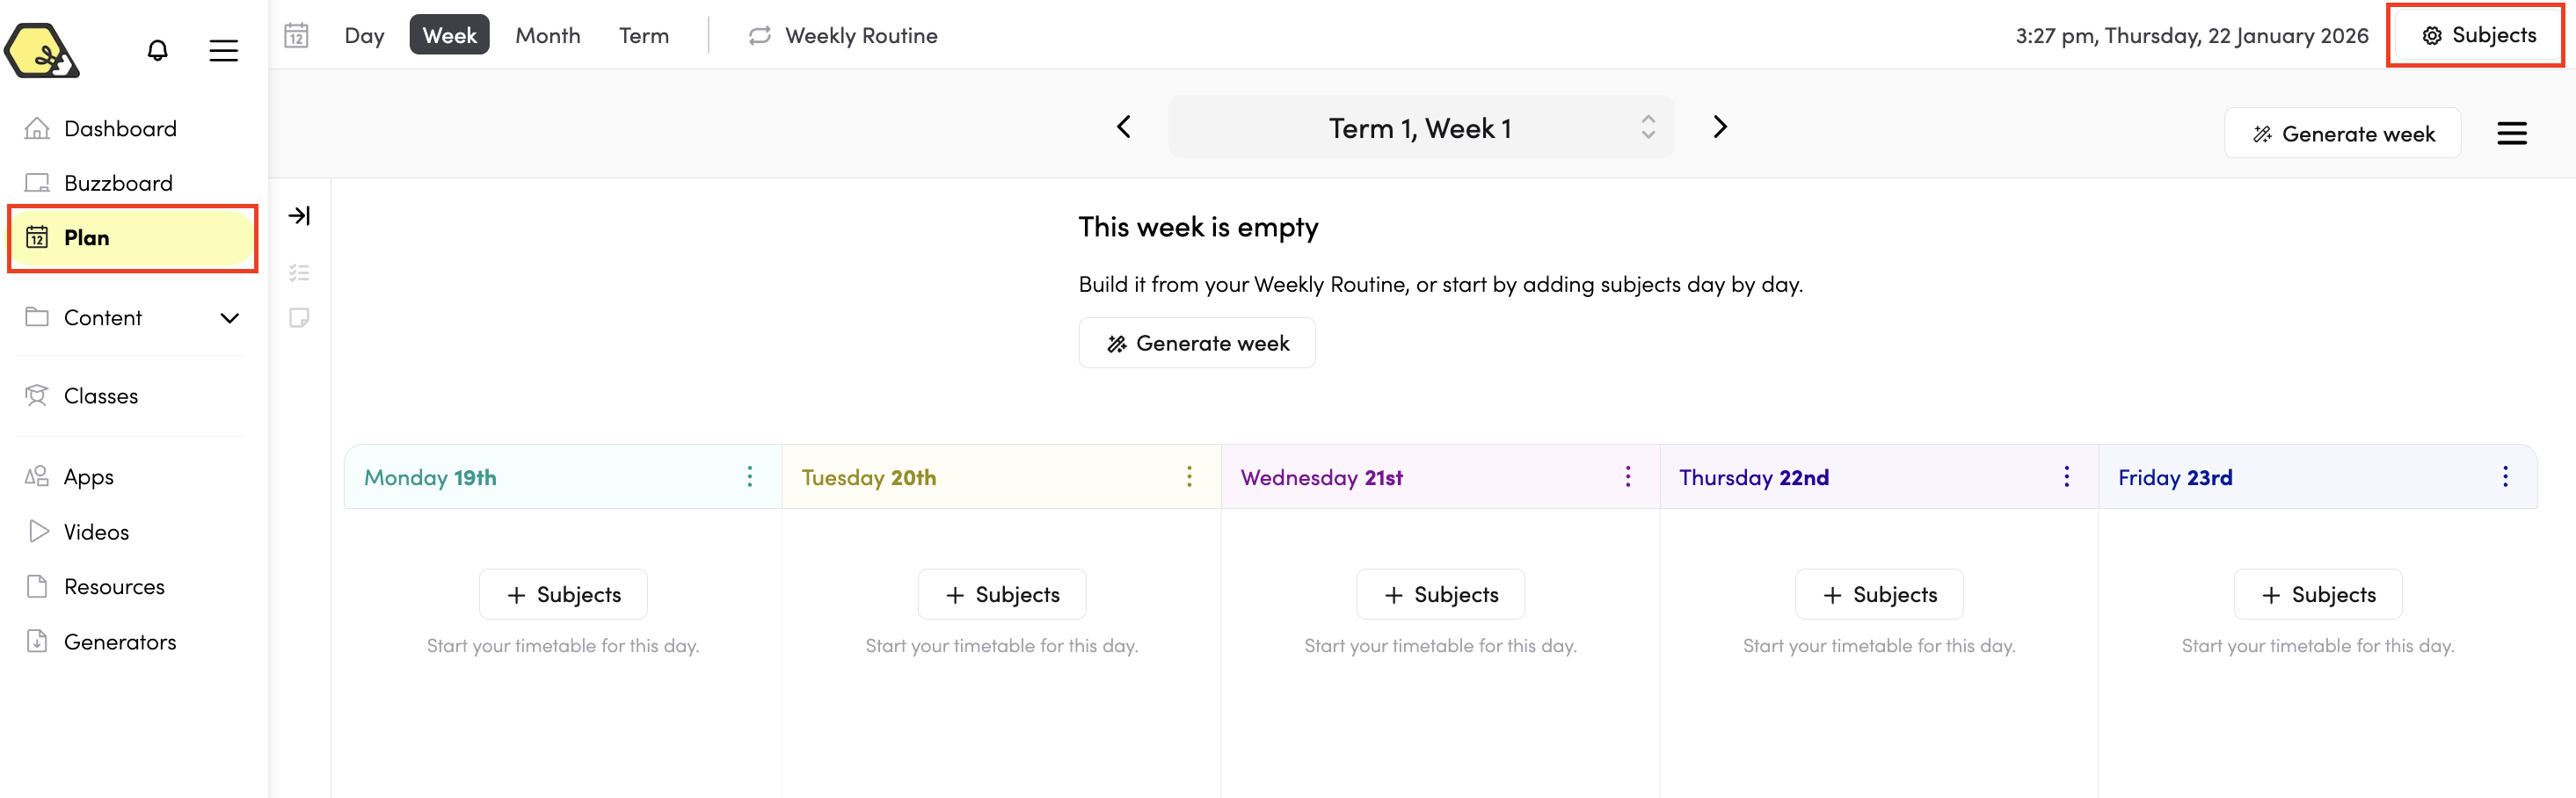
How do I create and edit my Subjects?
- Go to your planner and click 'Subjects' on the upper-right corner.
- Click '+ New. to add new subject name.

- To edit, click on the Subject.
- Click 'Select Image' or 'Change Colour' to make the appropriate changes.

- To change the image, you can use the Hive image library by searching for the image you want to use.
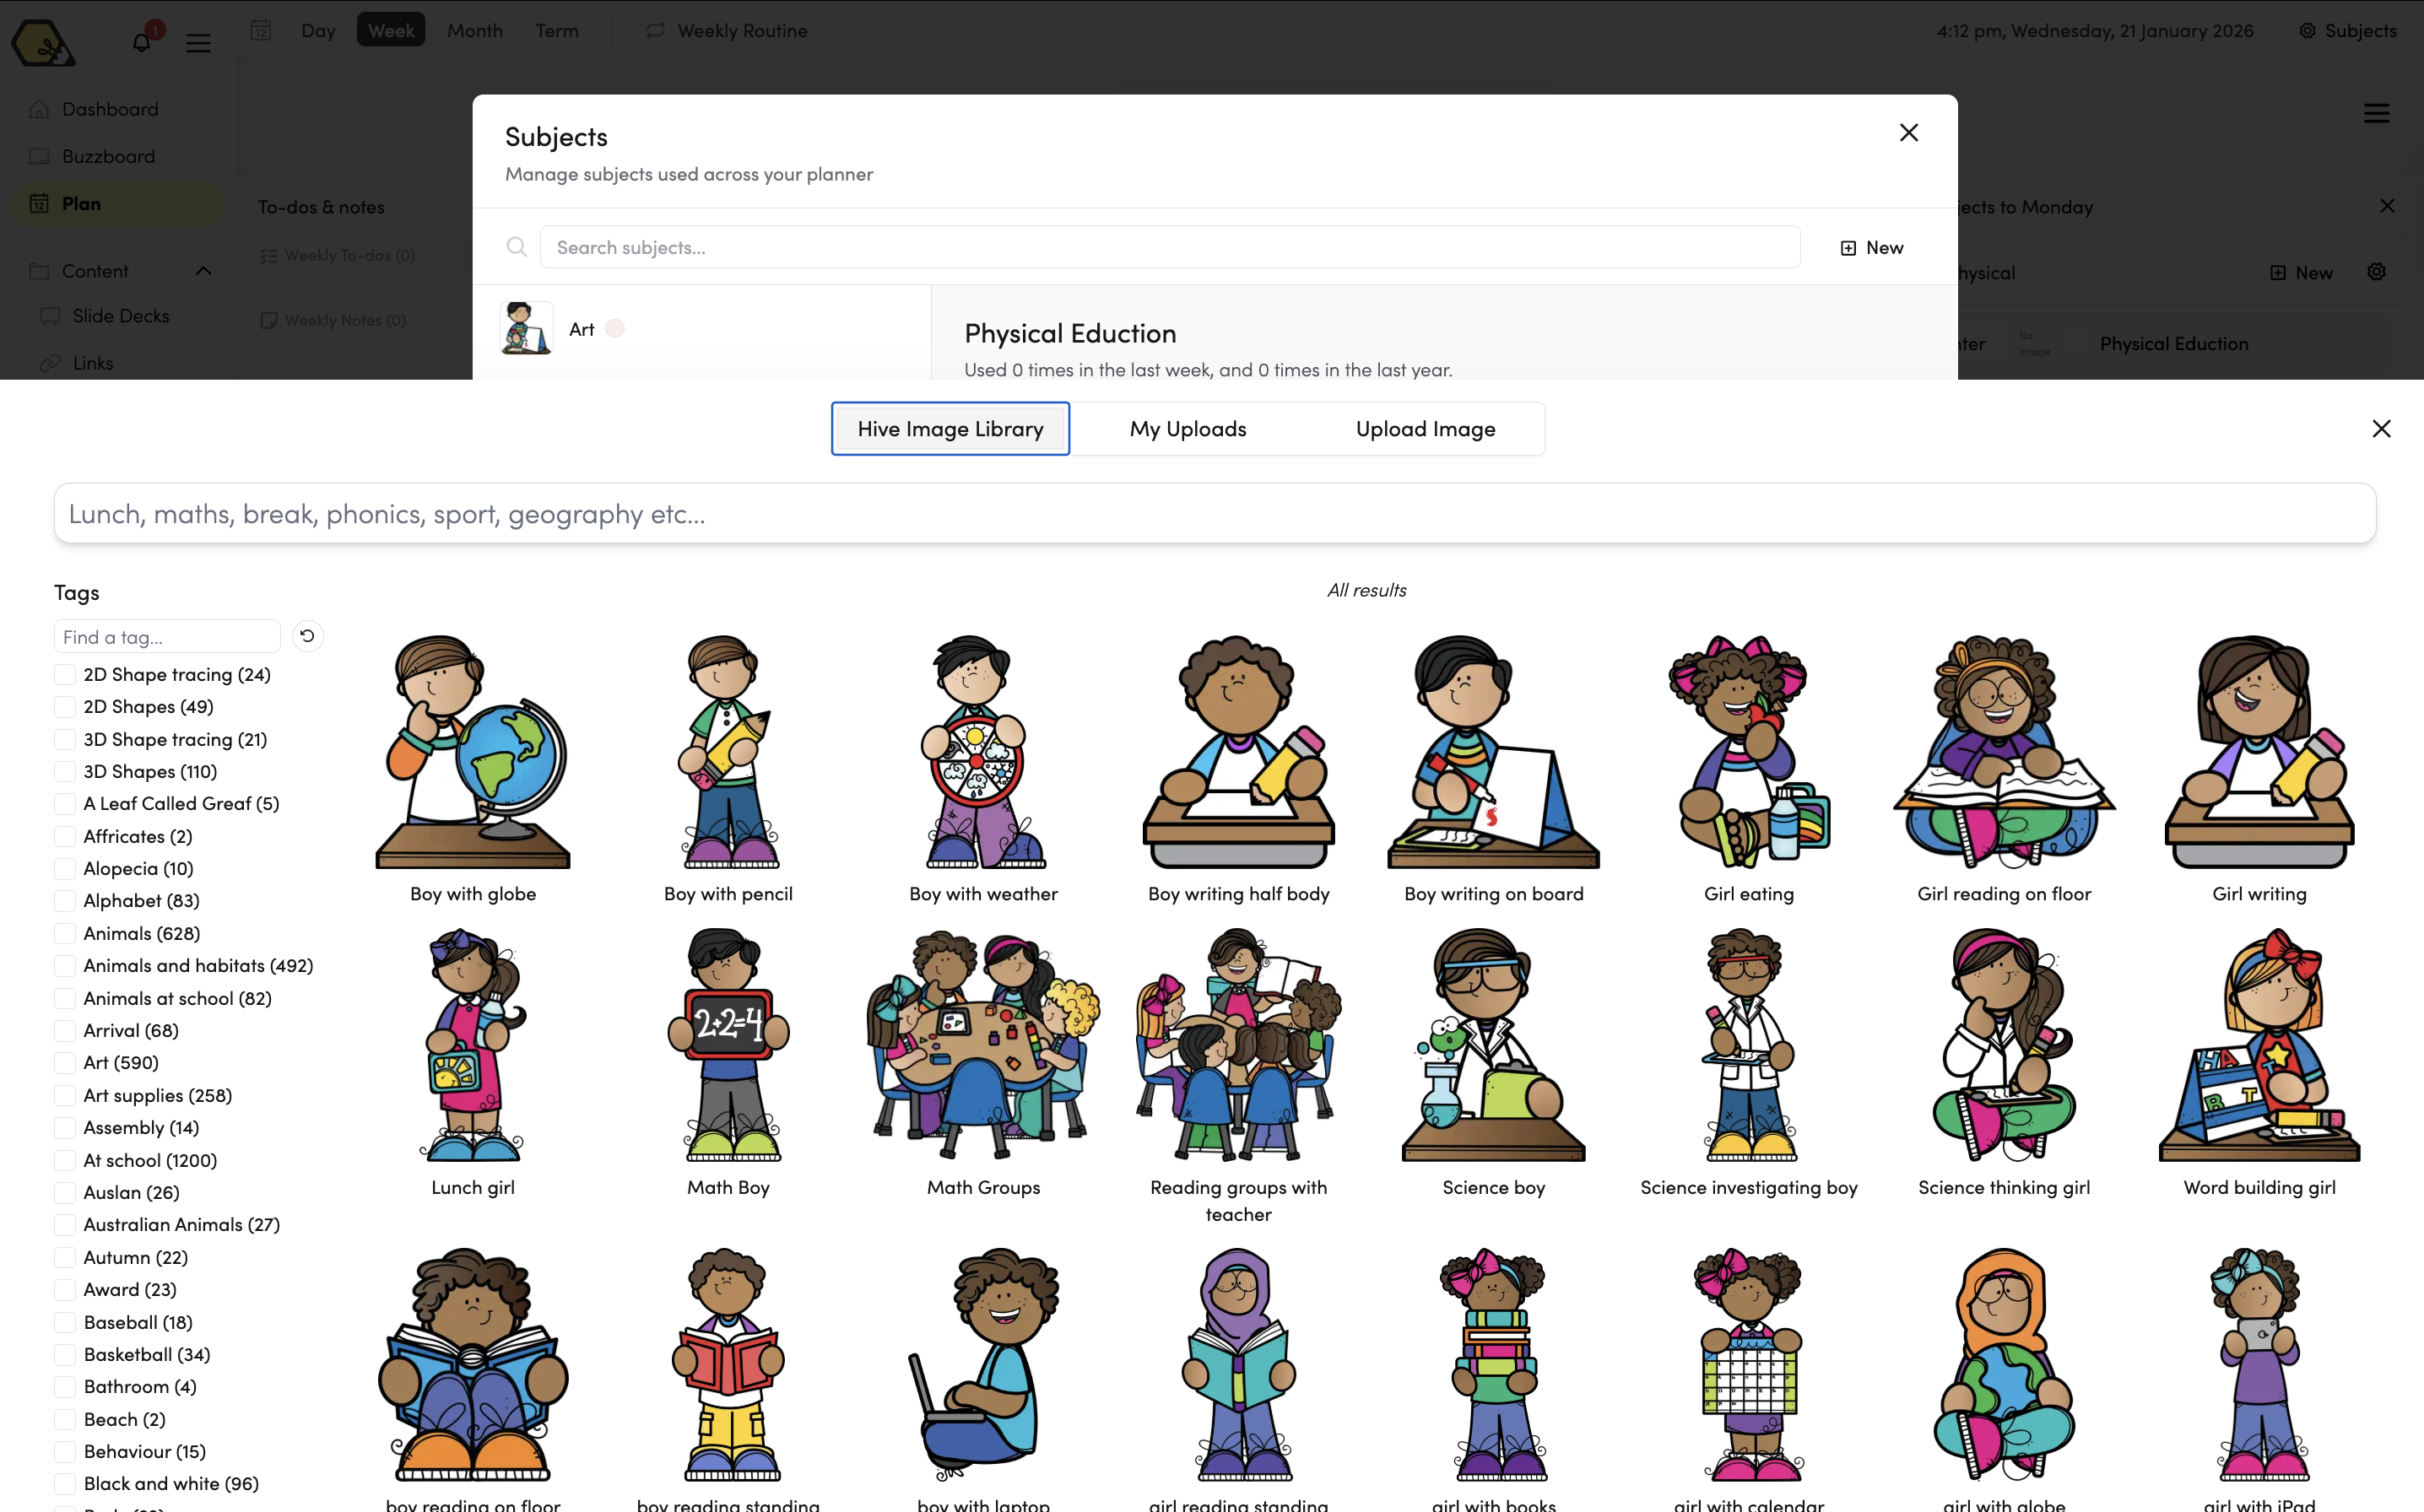
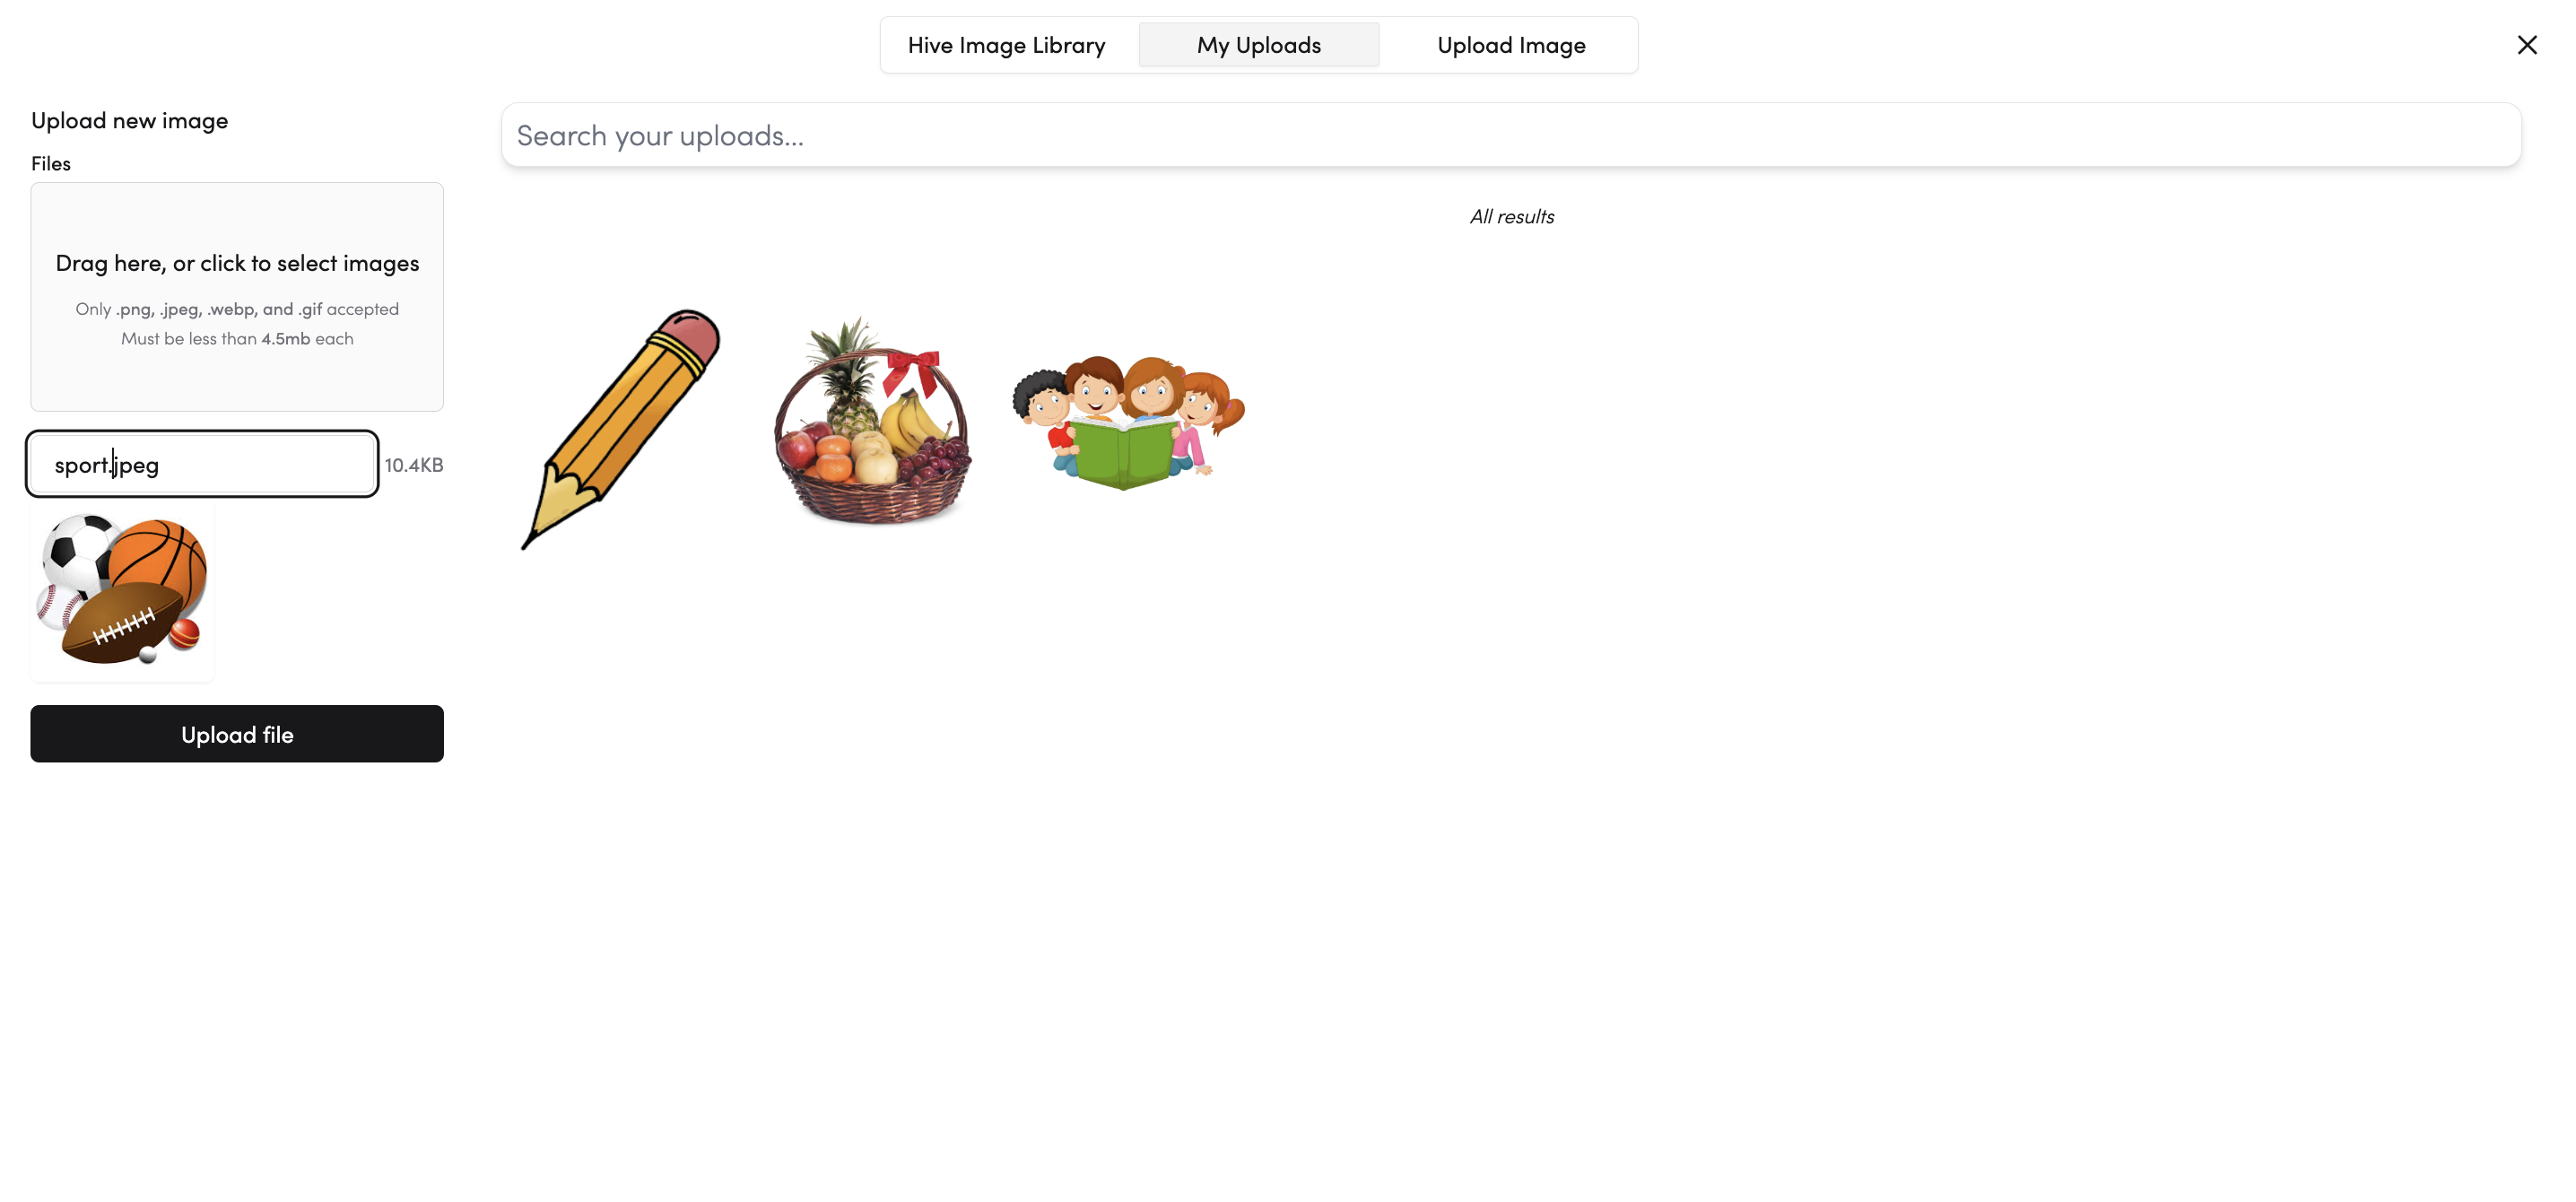
- You can also upload and use your own images. Just click on "My Uploads " to access your uploaded images or upload a new one.
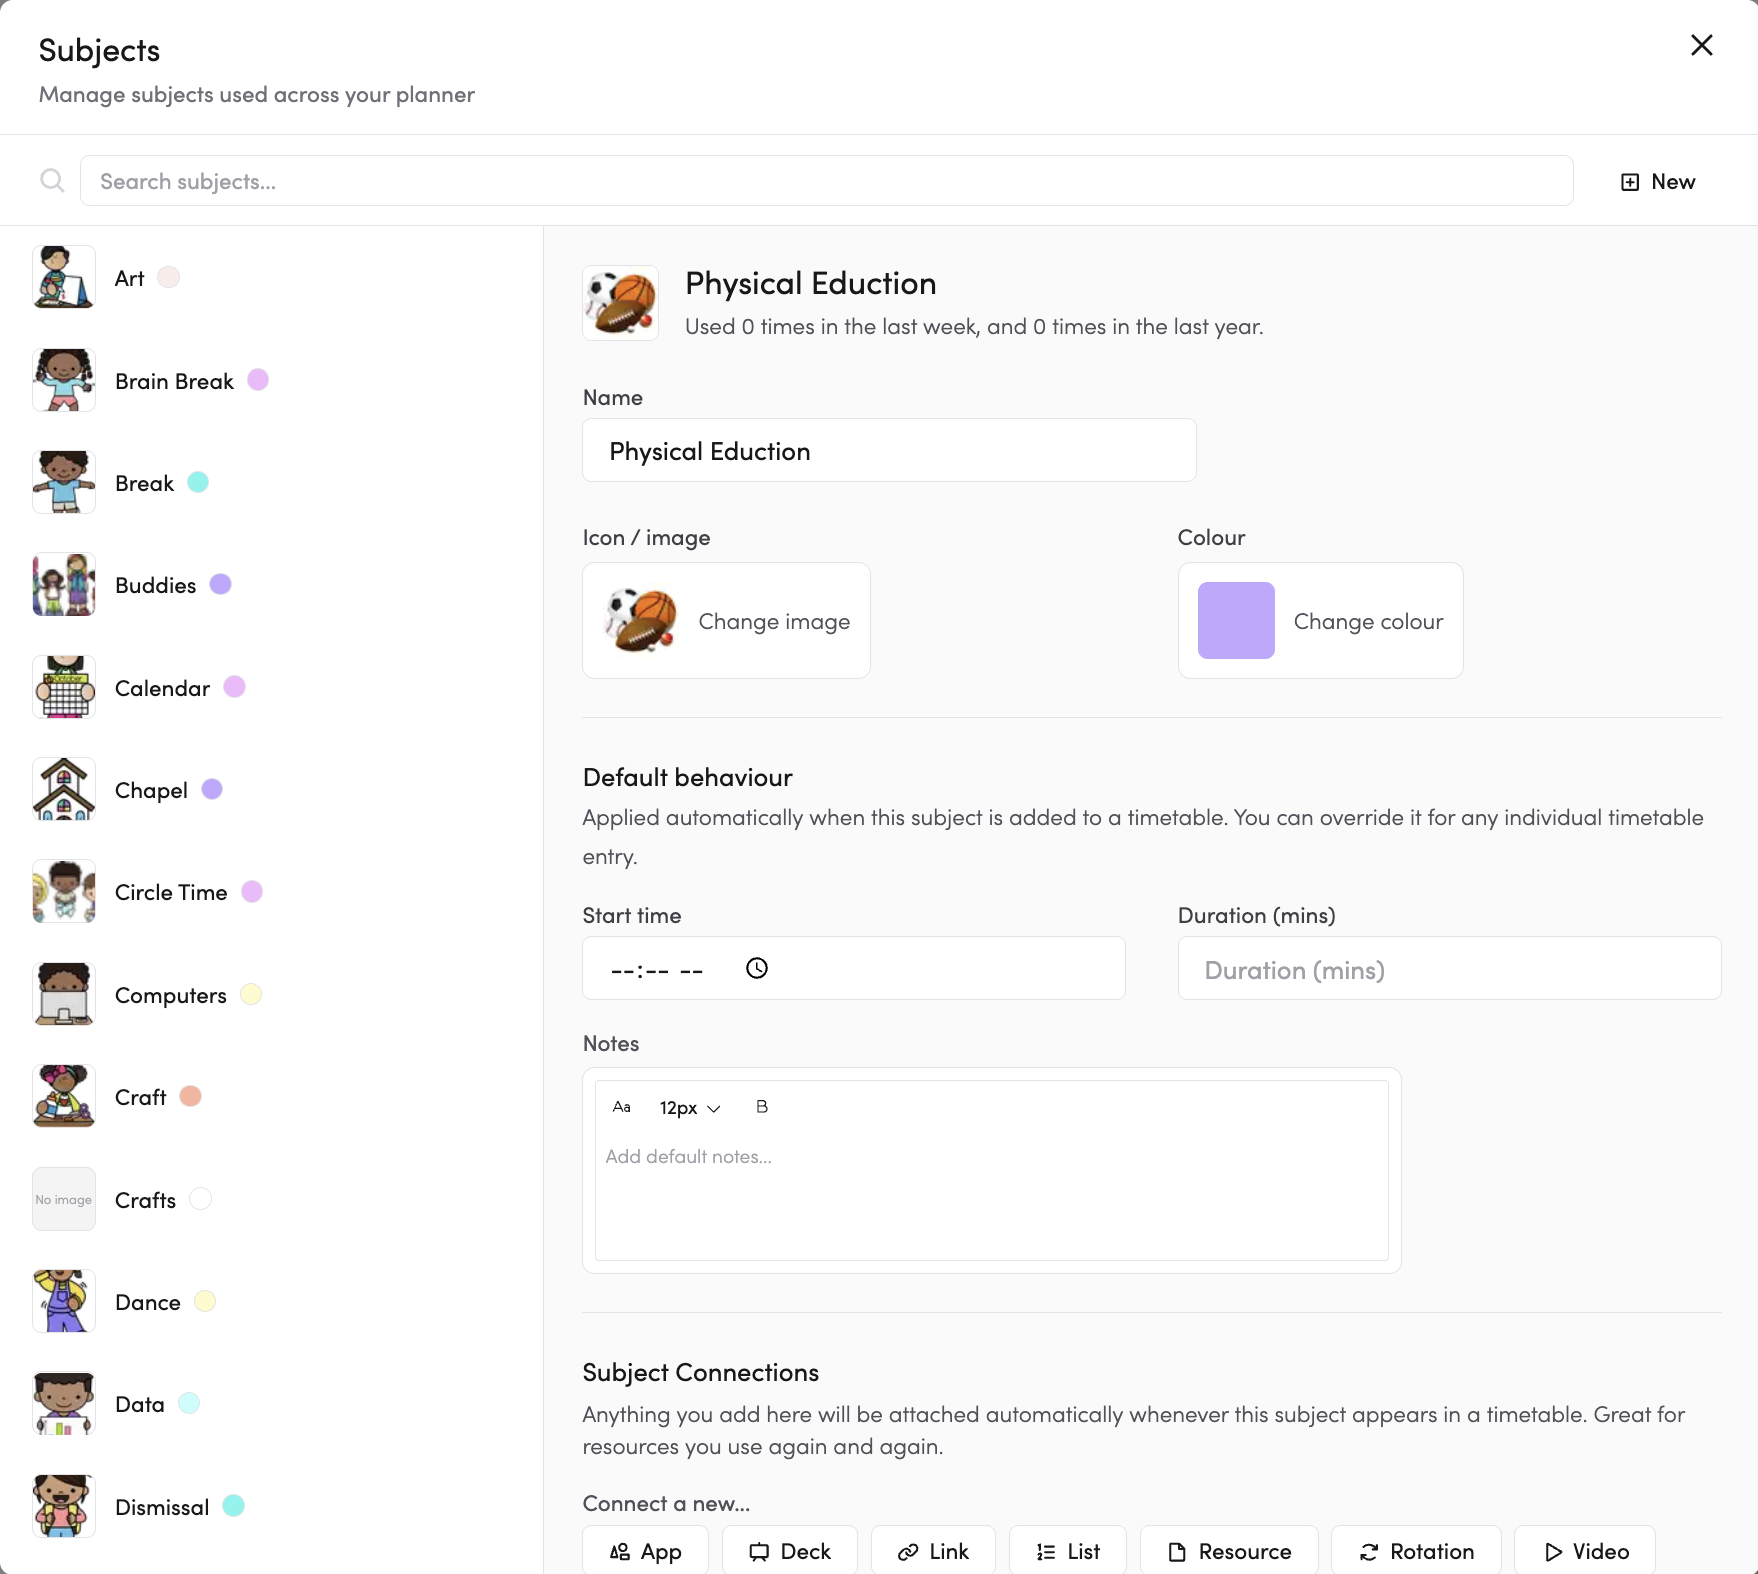
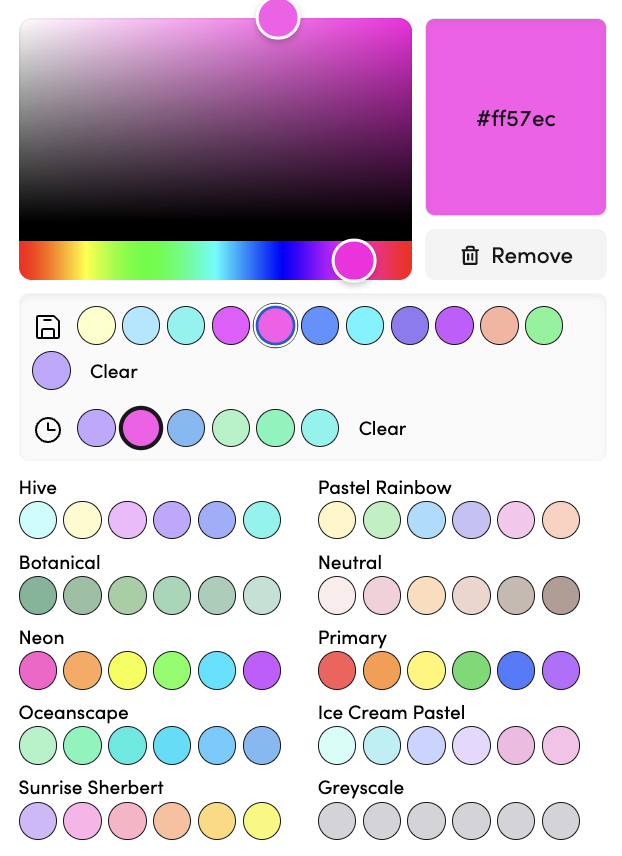
- To change the colour of the option, simply click on 'Change Colour'. A colour palette will appear.
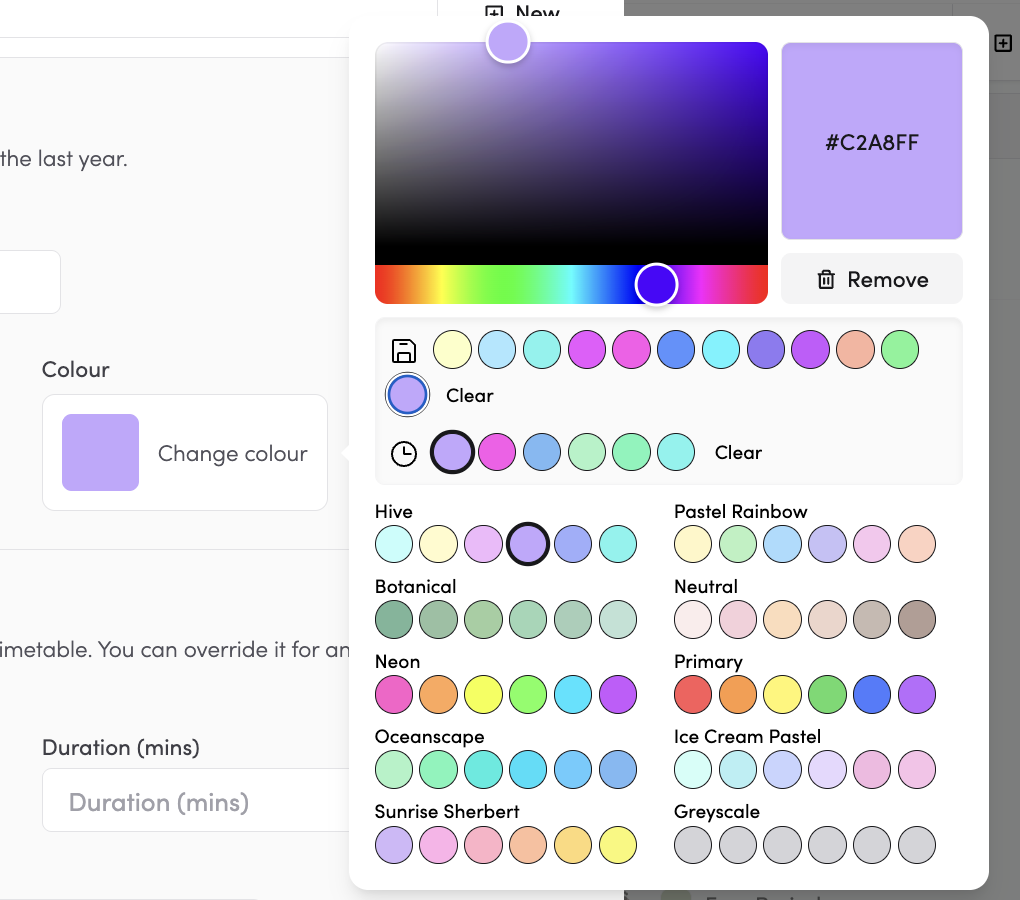
- You can choose from the available colour palettes or drag the slider to select the exact colour you want.
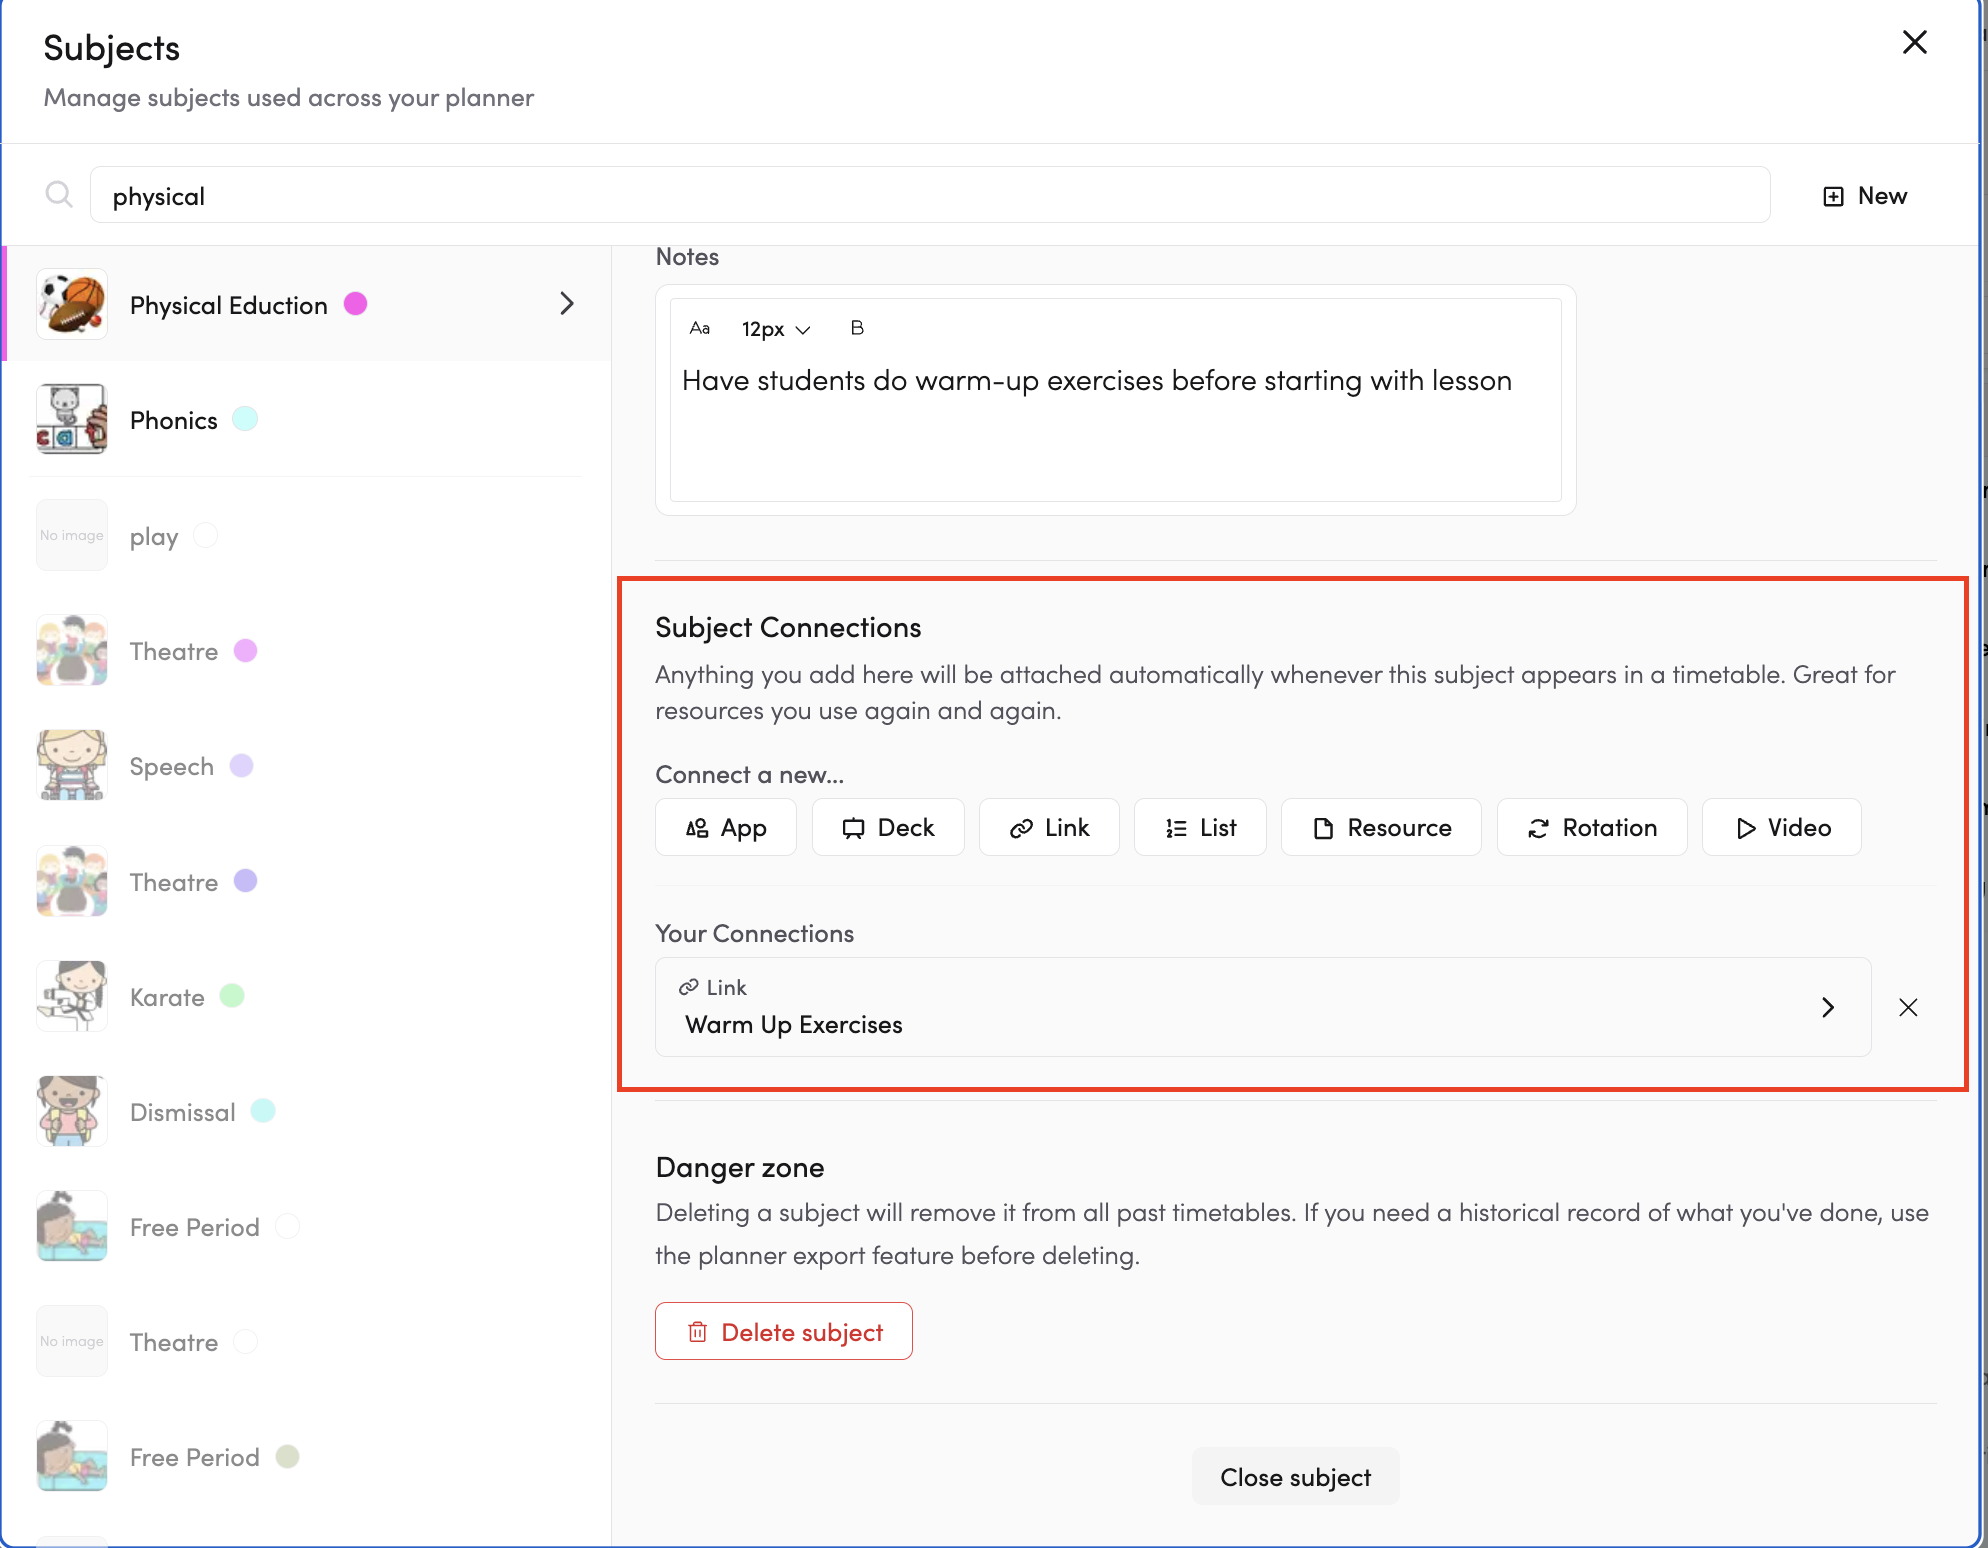
- Adding default behaviours like start times, duration, notes, and connections will automatically apply these settings every time the subject is added to a timetable.

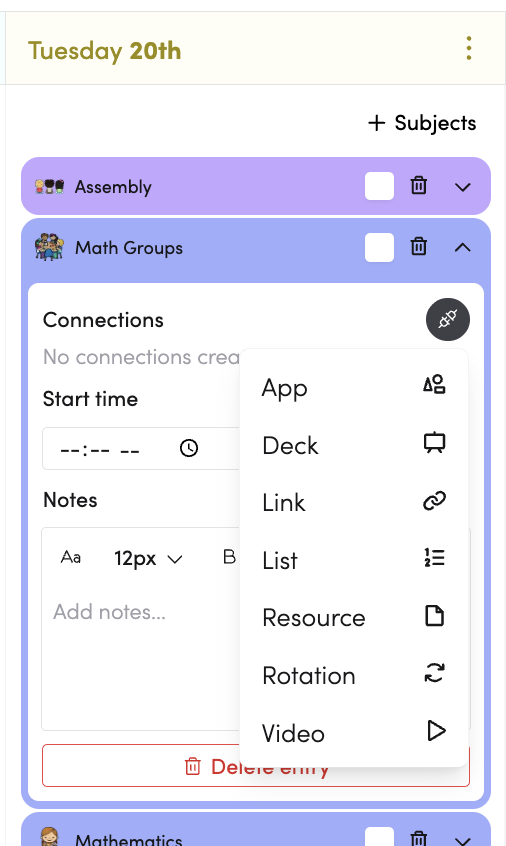
Add Subject Connections as needed.
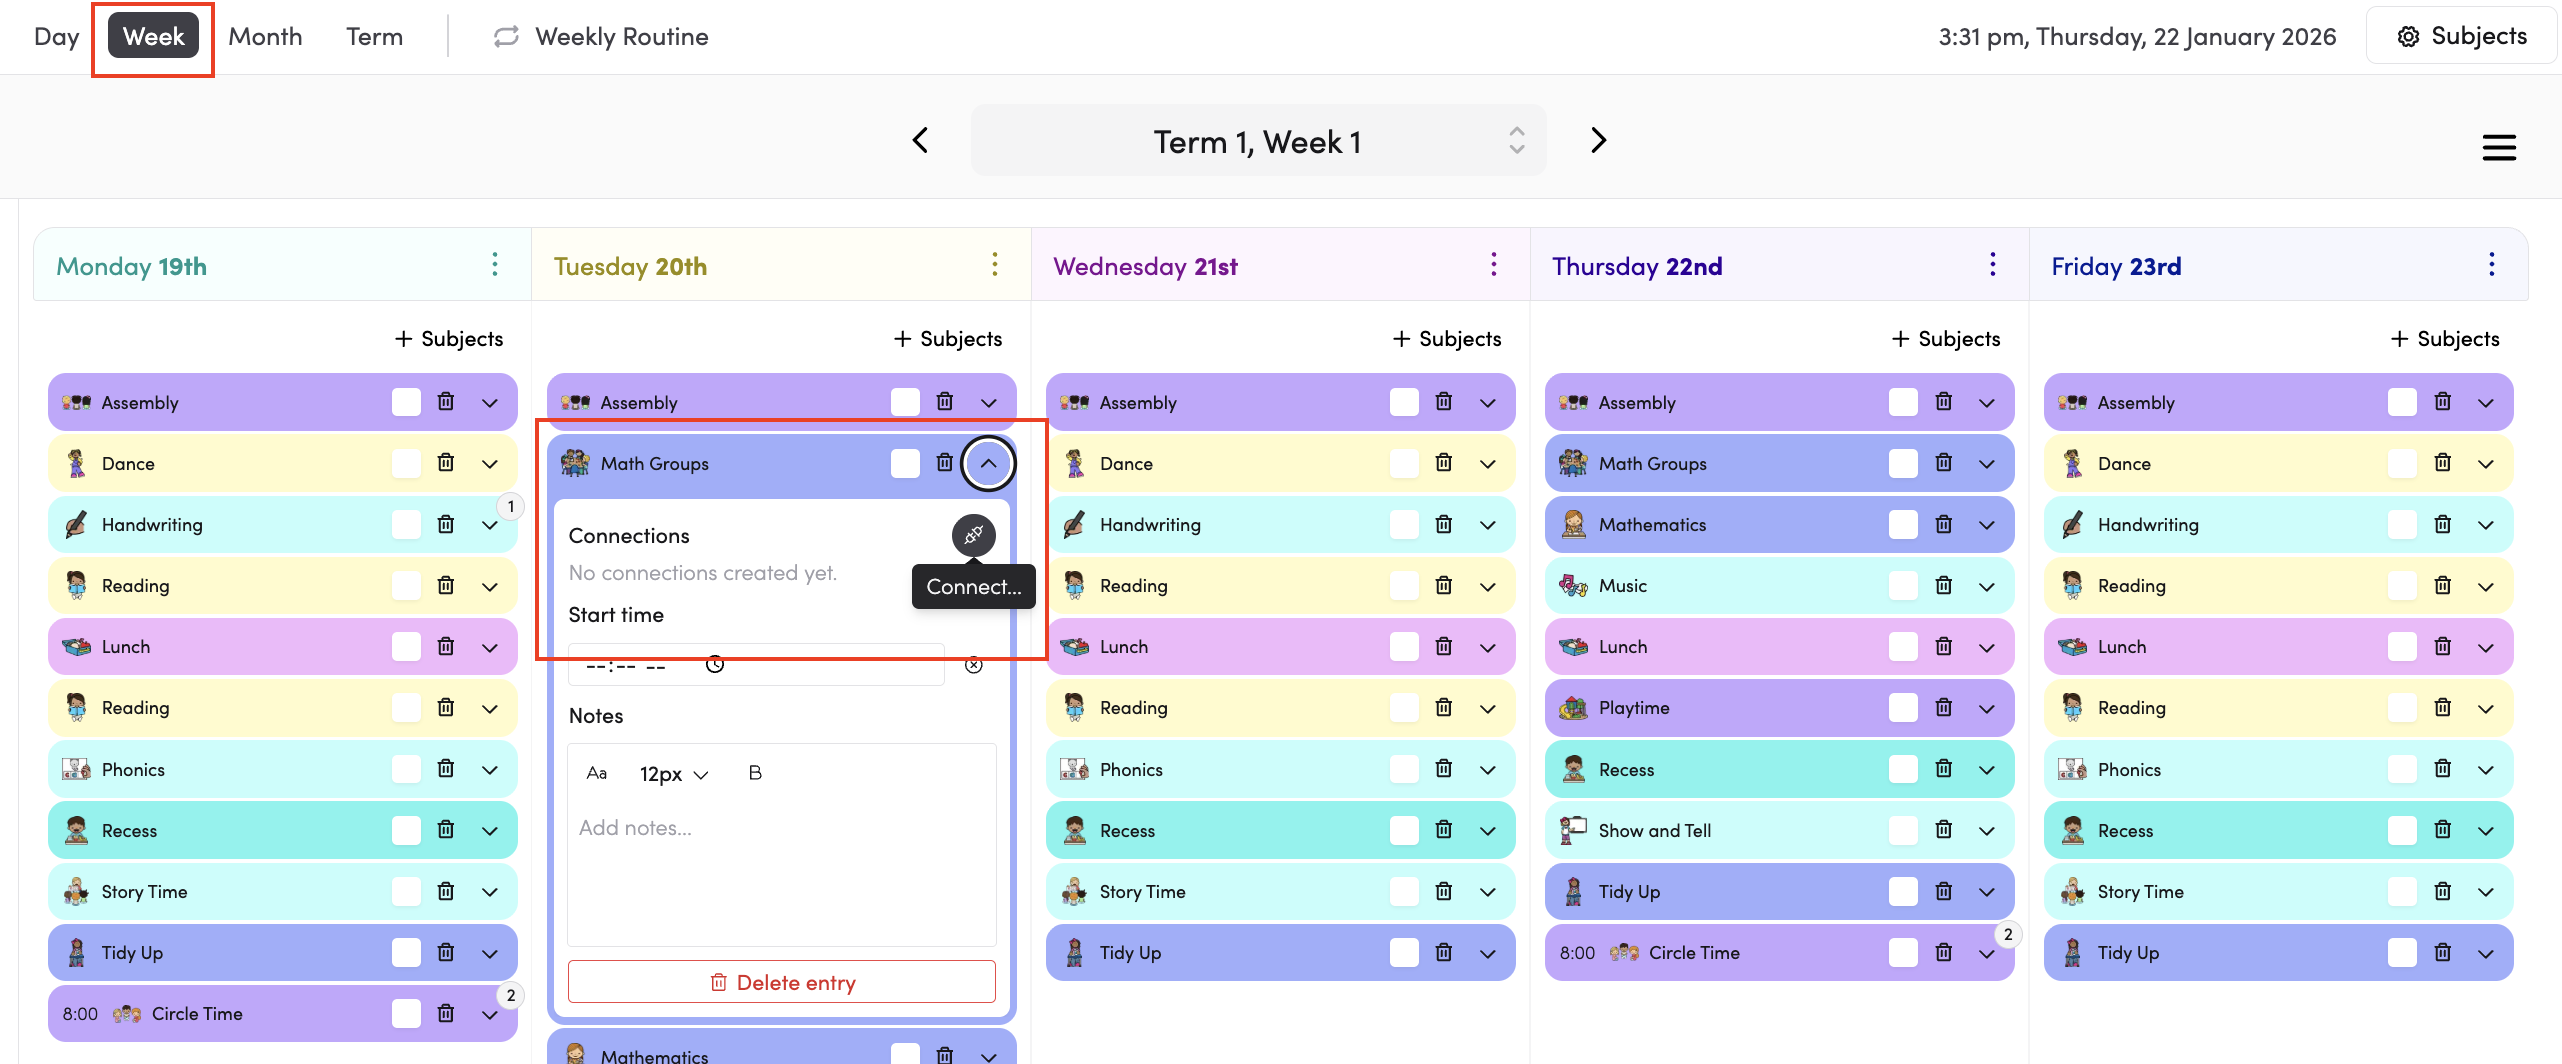
- Add your newly created/edited Subjects to your Weekly Routine or timetables.
- You can also add one-off connections by expanding a subject directly within your Day or Week plan. These connections are unique to that specific entry and won't affect your recurring Weekly Routine.
We’ve pre-created subjects that you can use and customise. Simply follow the Onboarding Process by clicking the book icon in the lower left to select and save.