How do I create and add a list into a slide?
Lists let you display ordered and organised information on your slides - great for instructions, schedules, learning goals, or anything your class needs to follow along with.
How do I add a list to a slide?
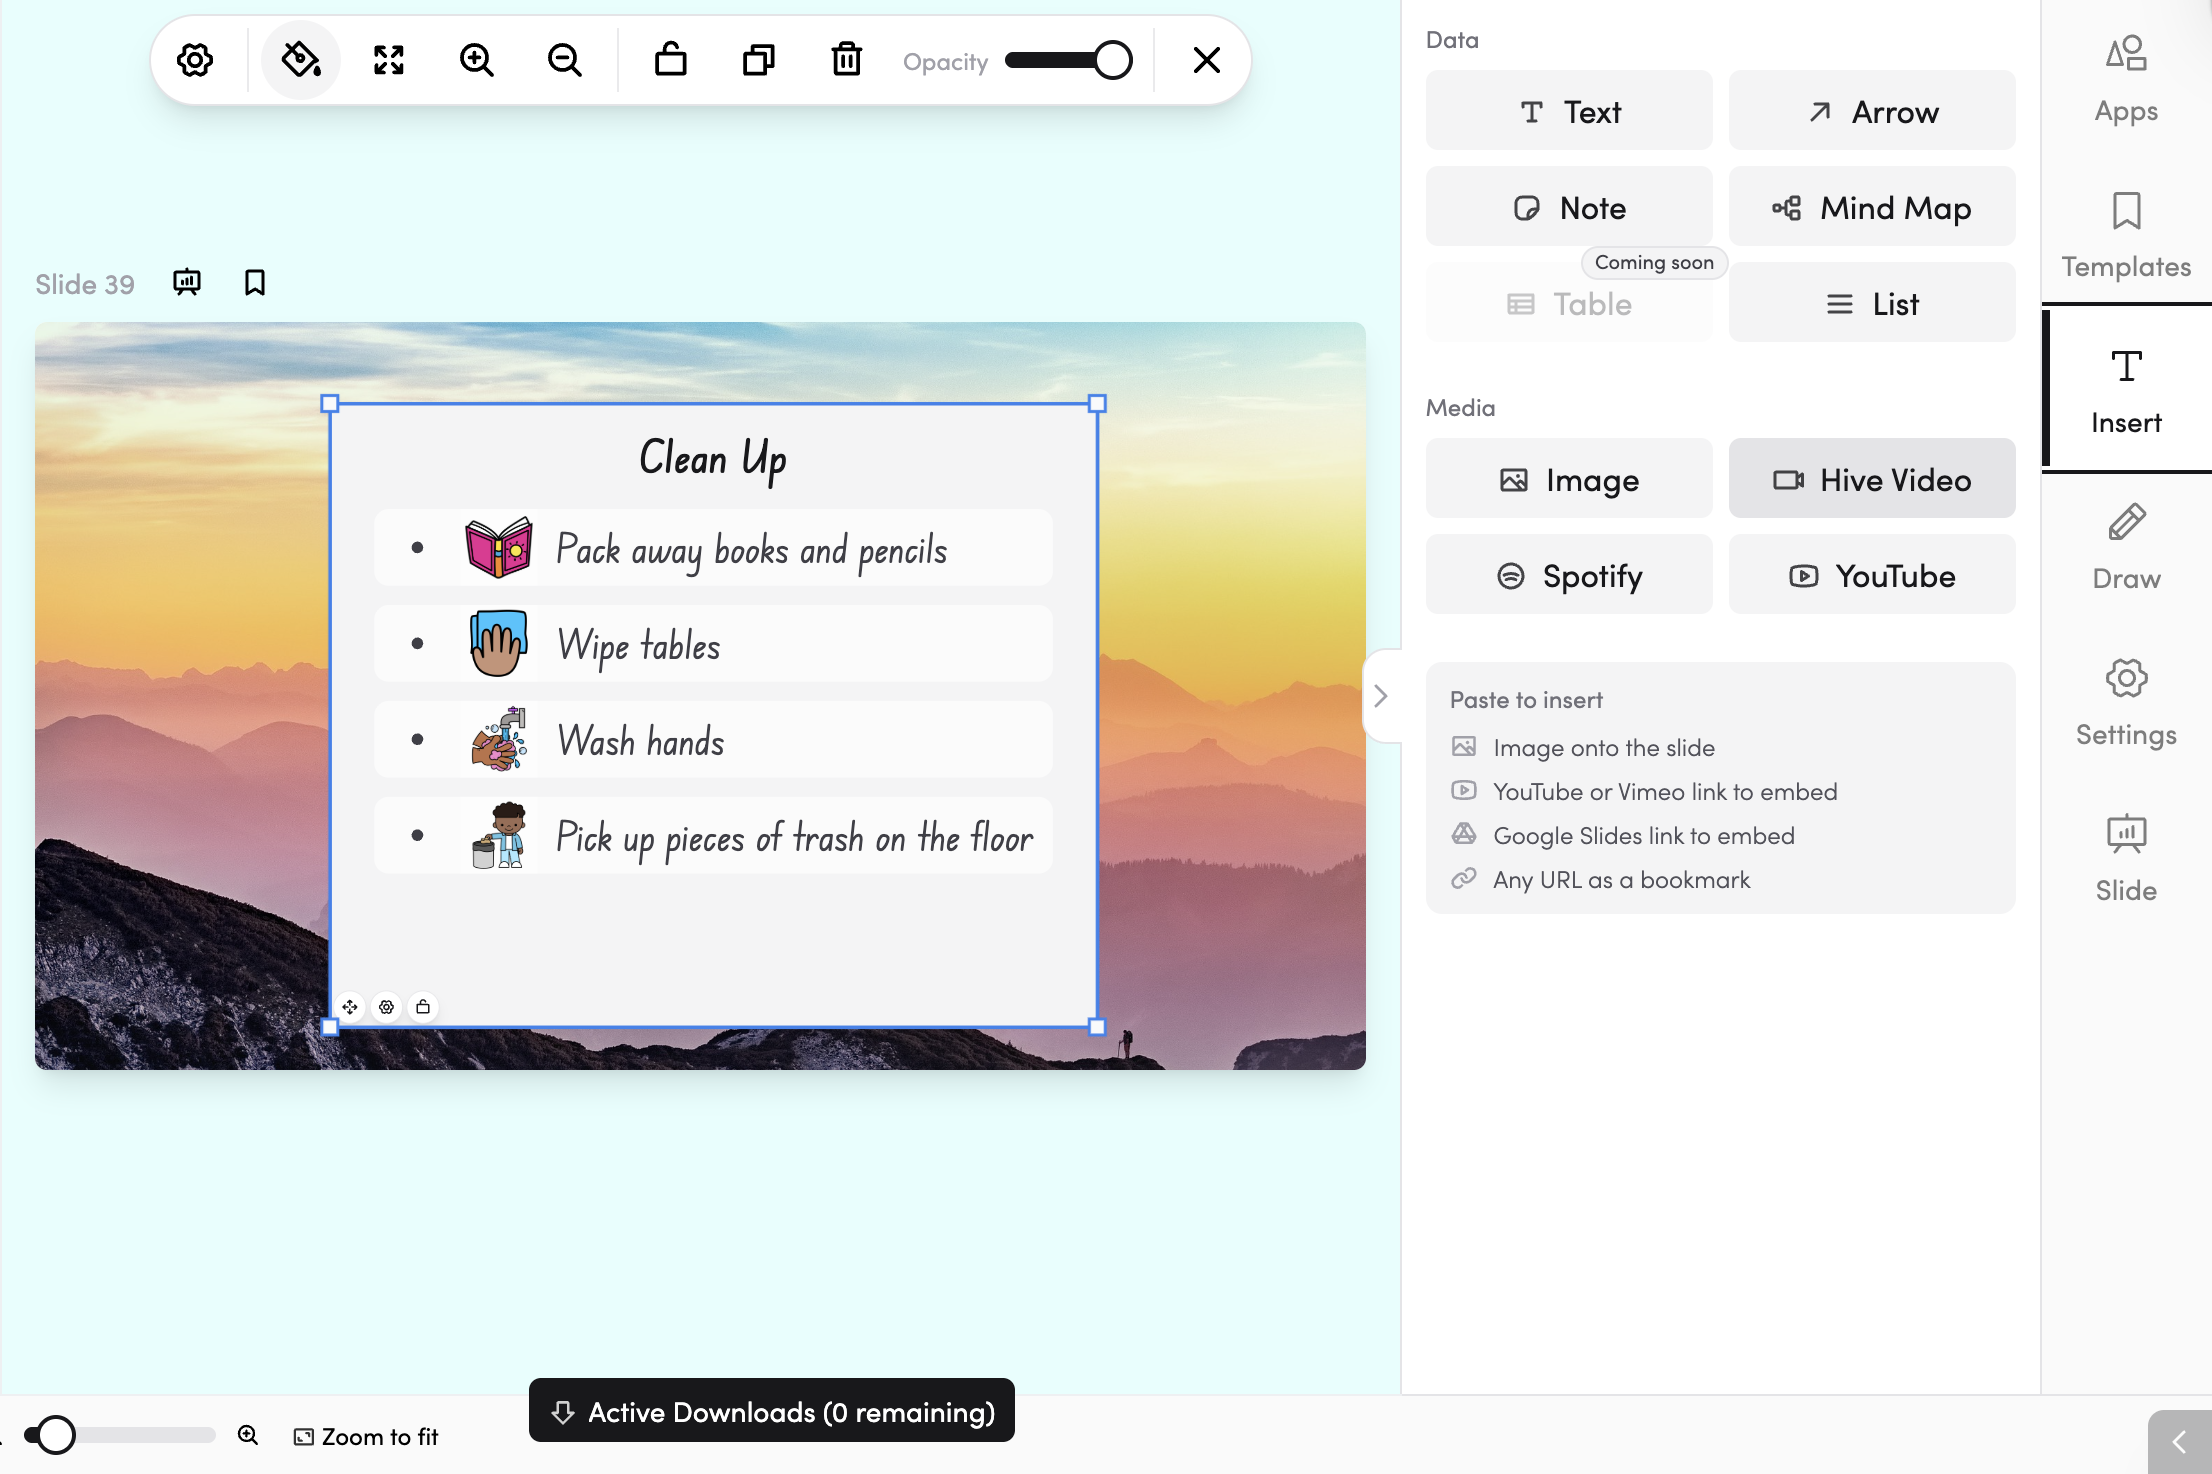
- Open the slide where you'd like to add a list.
- Tap the Insert tab on the right panel, then tap List.
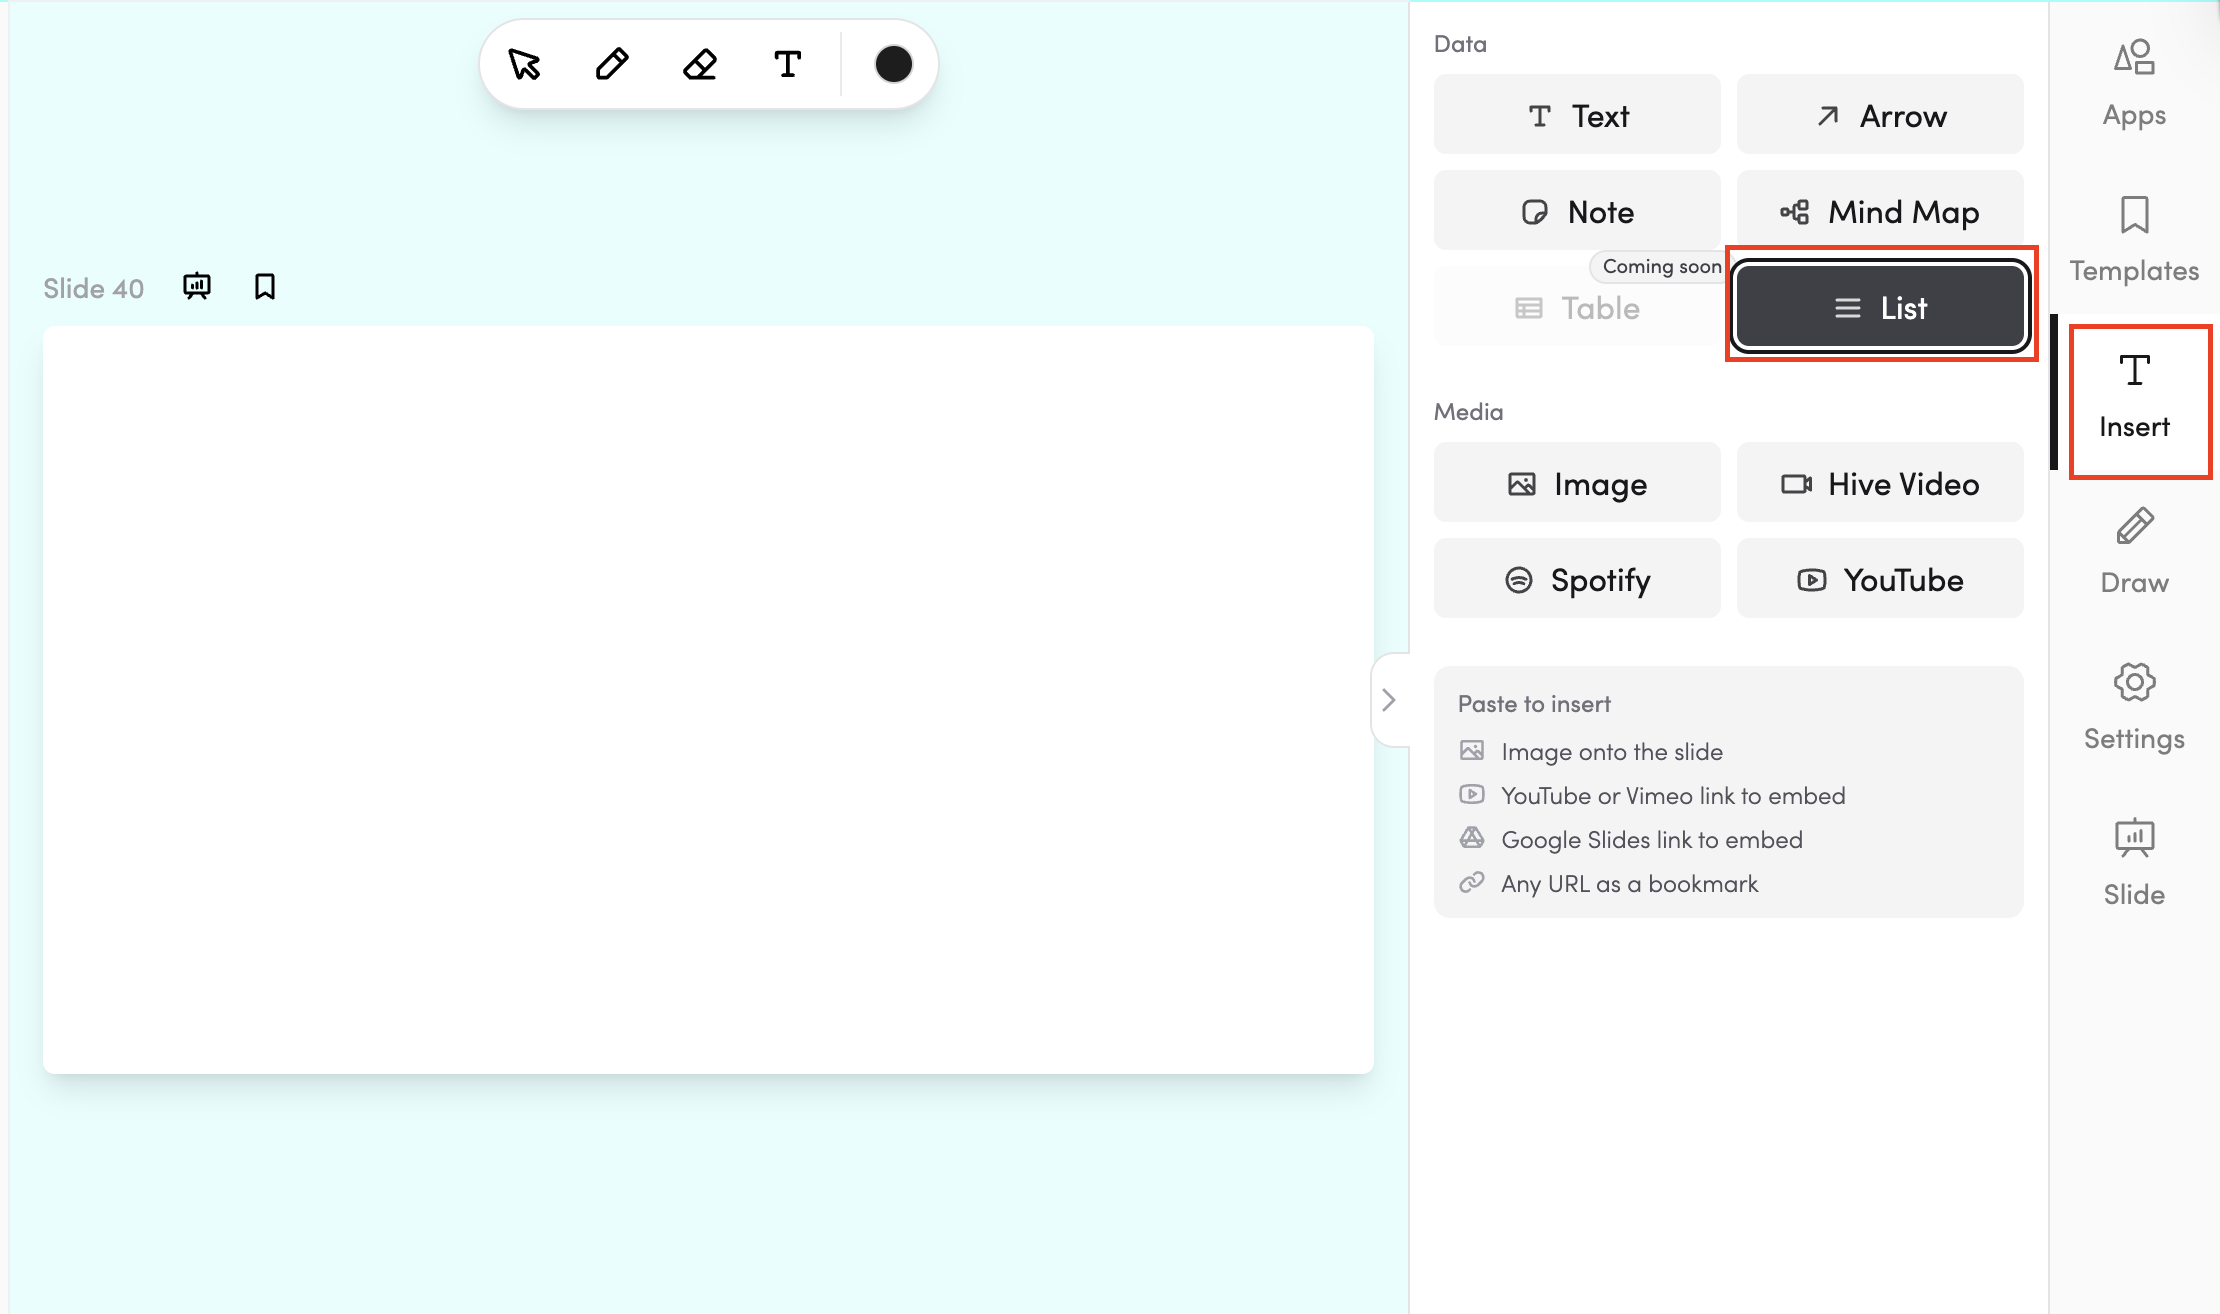
- Click anywhere on the slide to add your list.
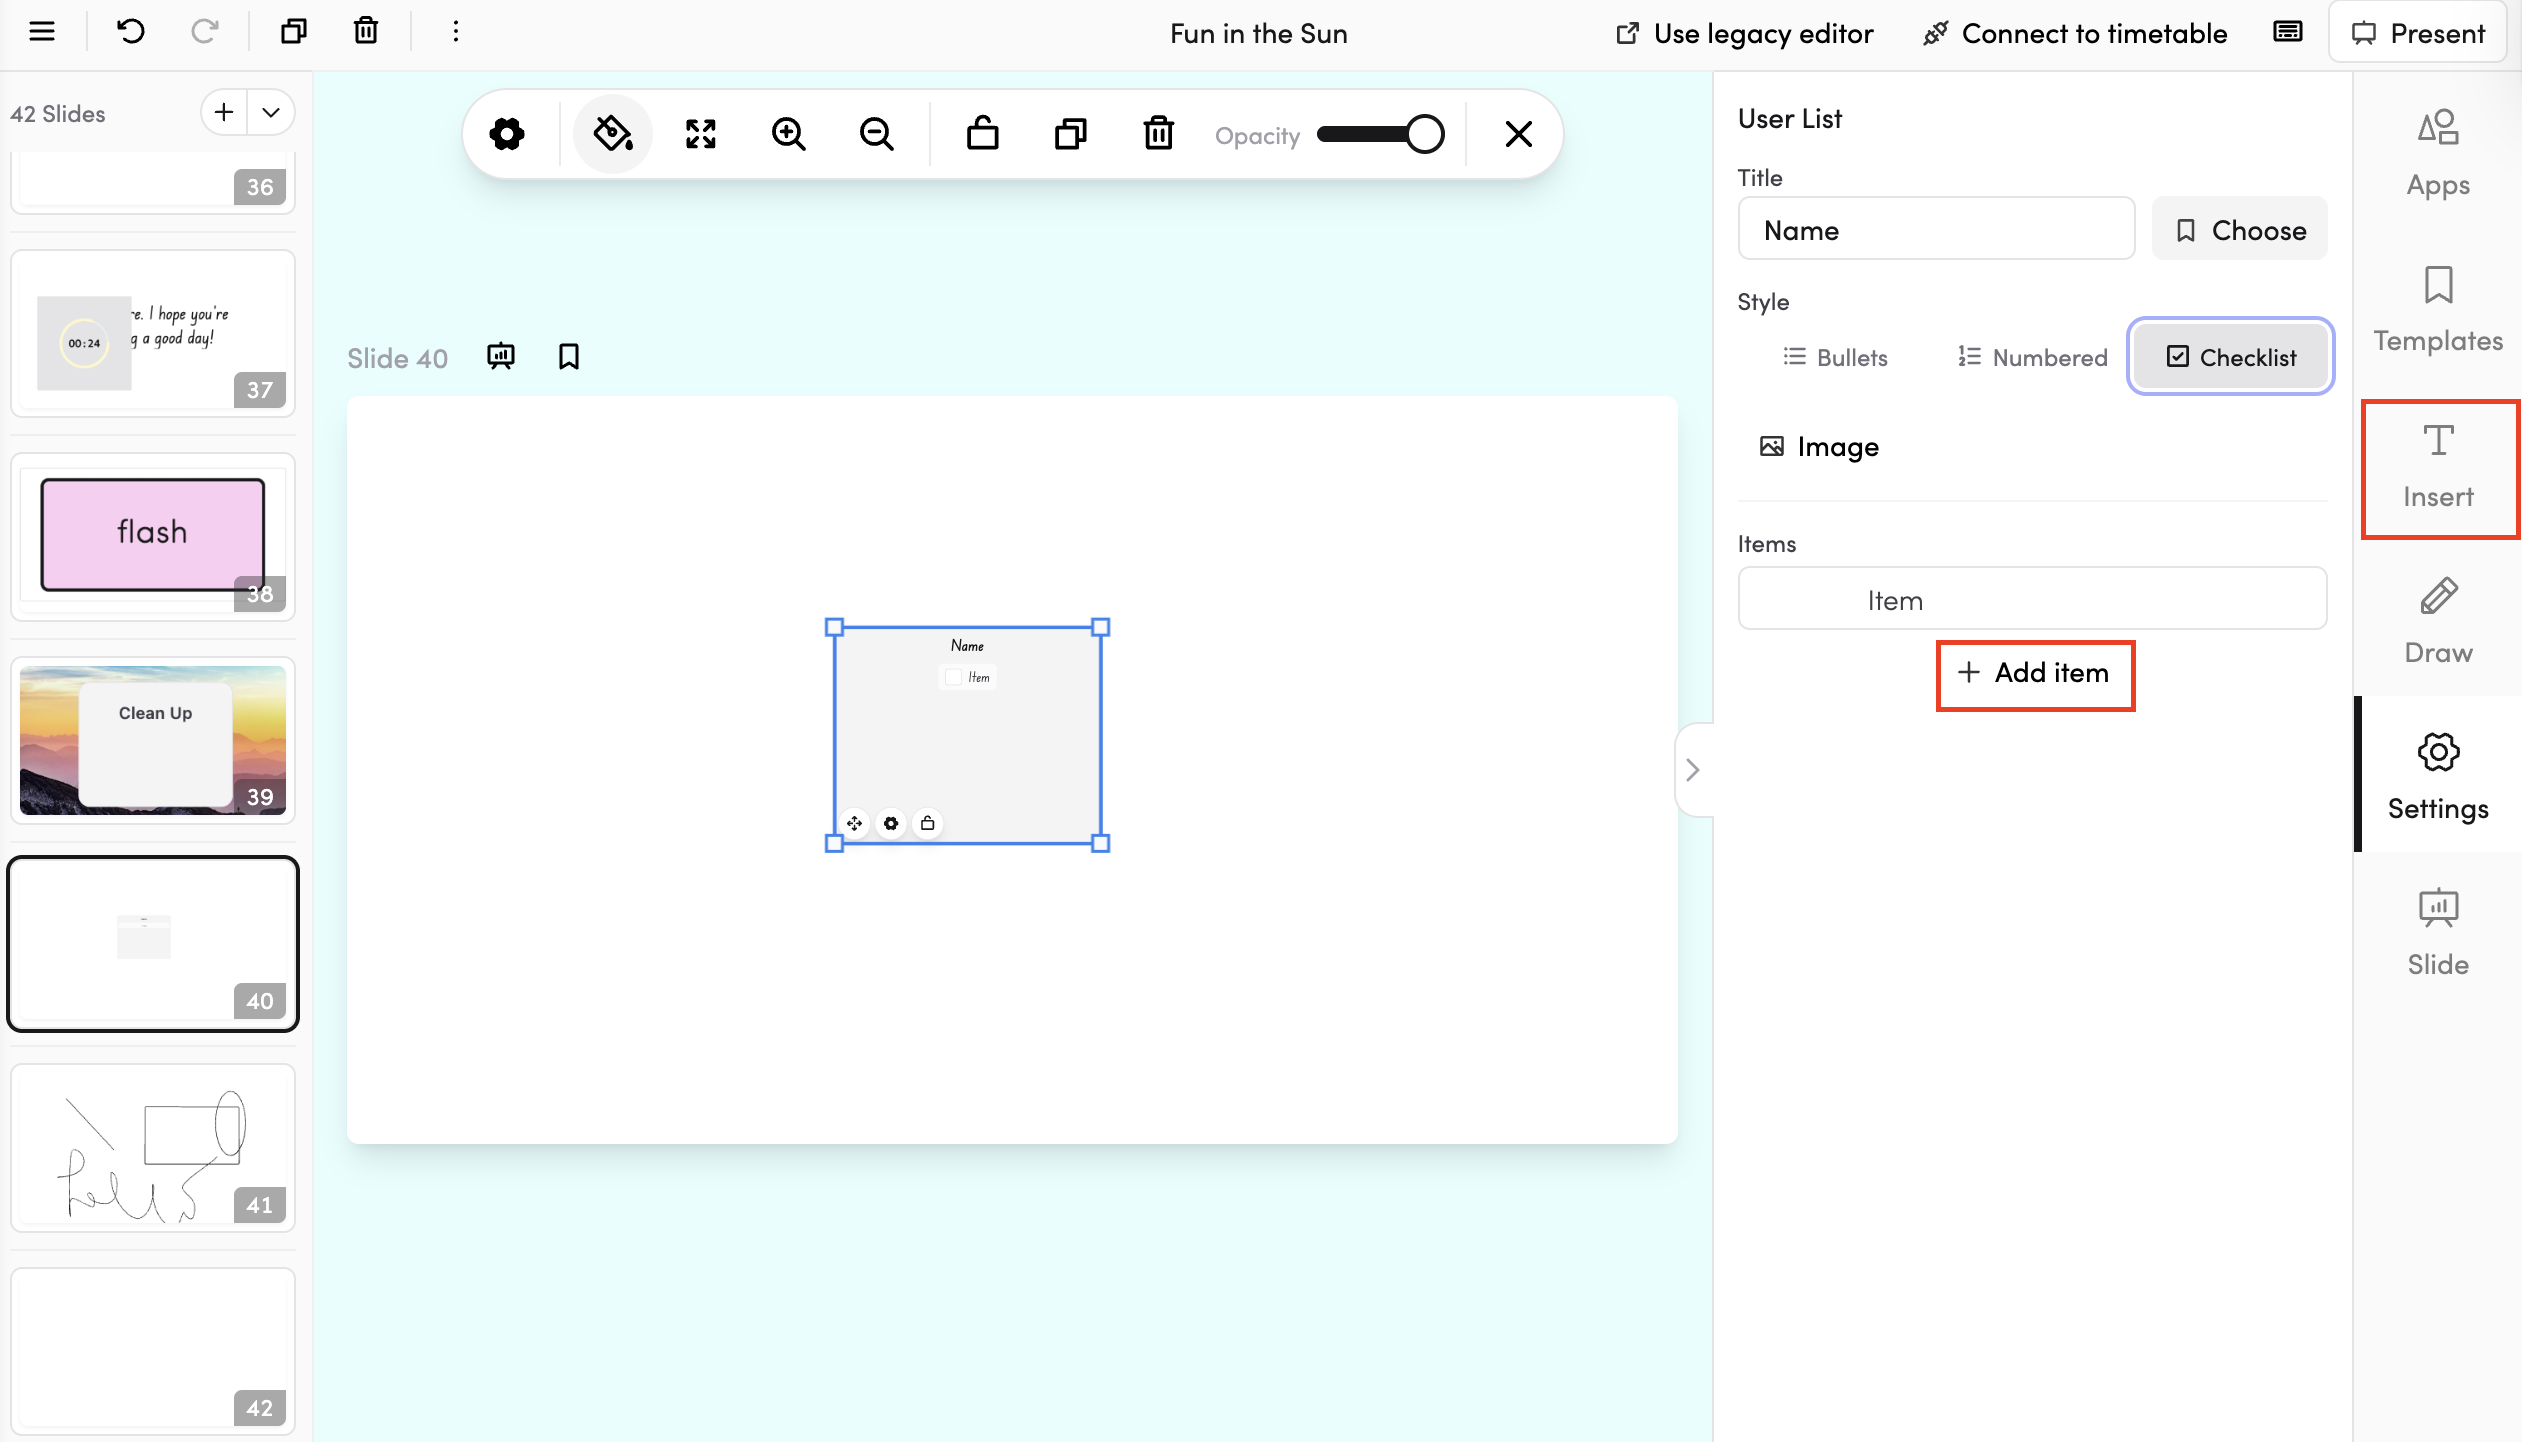
From here you can:
- Give it a title - type a name in the Title field.
- Choose a style - pick from Bullets, Numbered, or Checklist.
- Add items - tap + Add item to add each entry to your list.
- Add images - tap the Image option to include images alongside your list items.
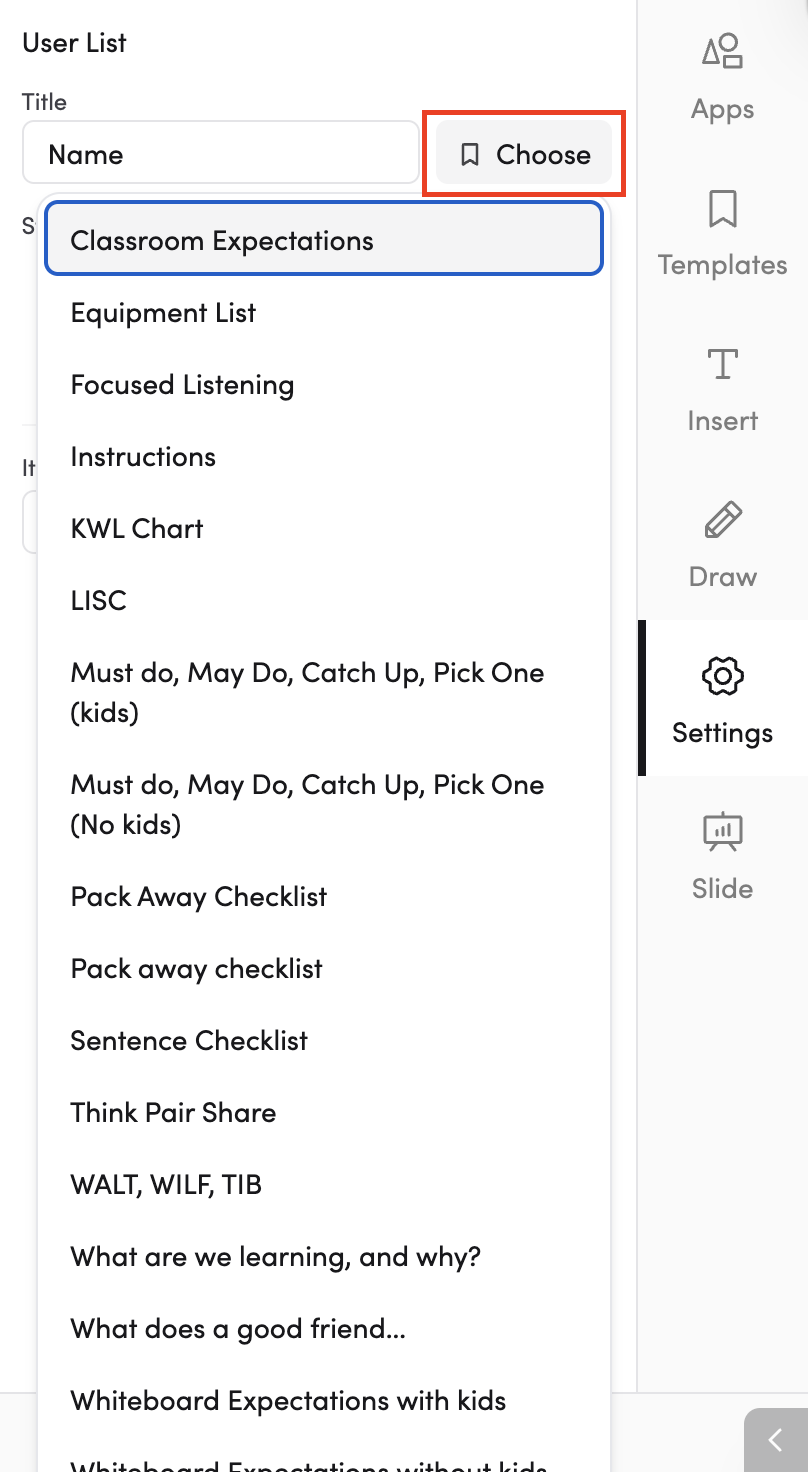
- Use an existing list — tap Choose next to the title field to pick from Mrs Learning Bee's saved templates instead of creating one from scratch.
How do I resize and customise my list on the slide?
Once your list is on the slide, you can:
- Reposition it - drag the list to move it around the slide.
- Resize it -drag the squares on the corners to make it bigger or smaller.
- Change the border colour - tap the list to access colour options.
- View it in full mode - tap the full mode button to maximise the list on screen.
- Delete it - tap the delete option if you no longer need it.
How do I turn a list into a template?
If you've created a list you'd like to reuse, you can save it as a template.
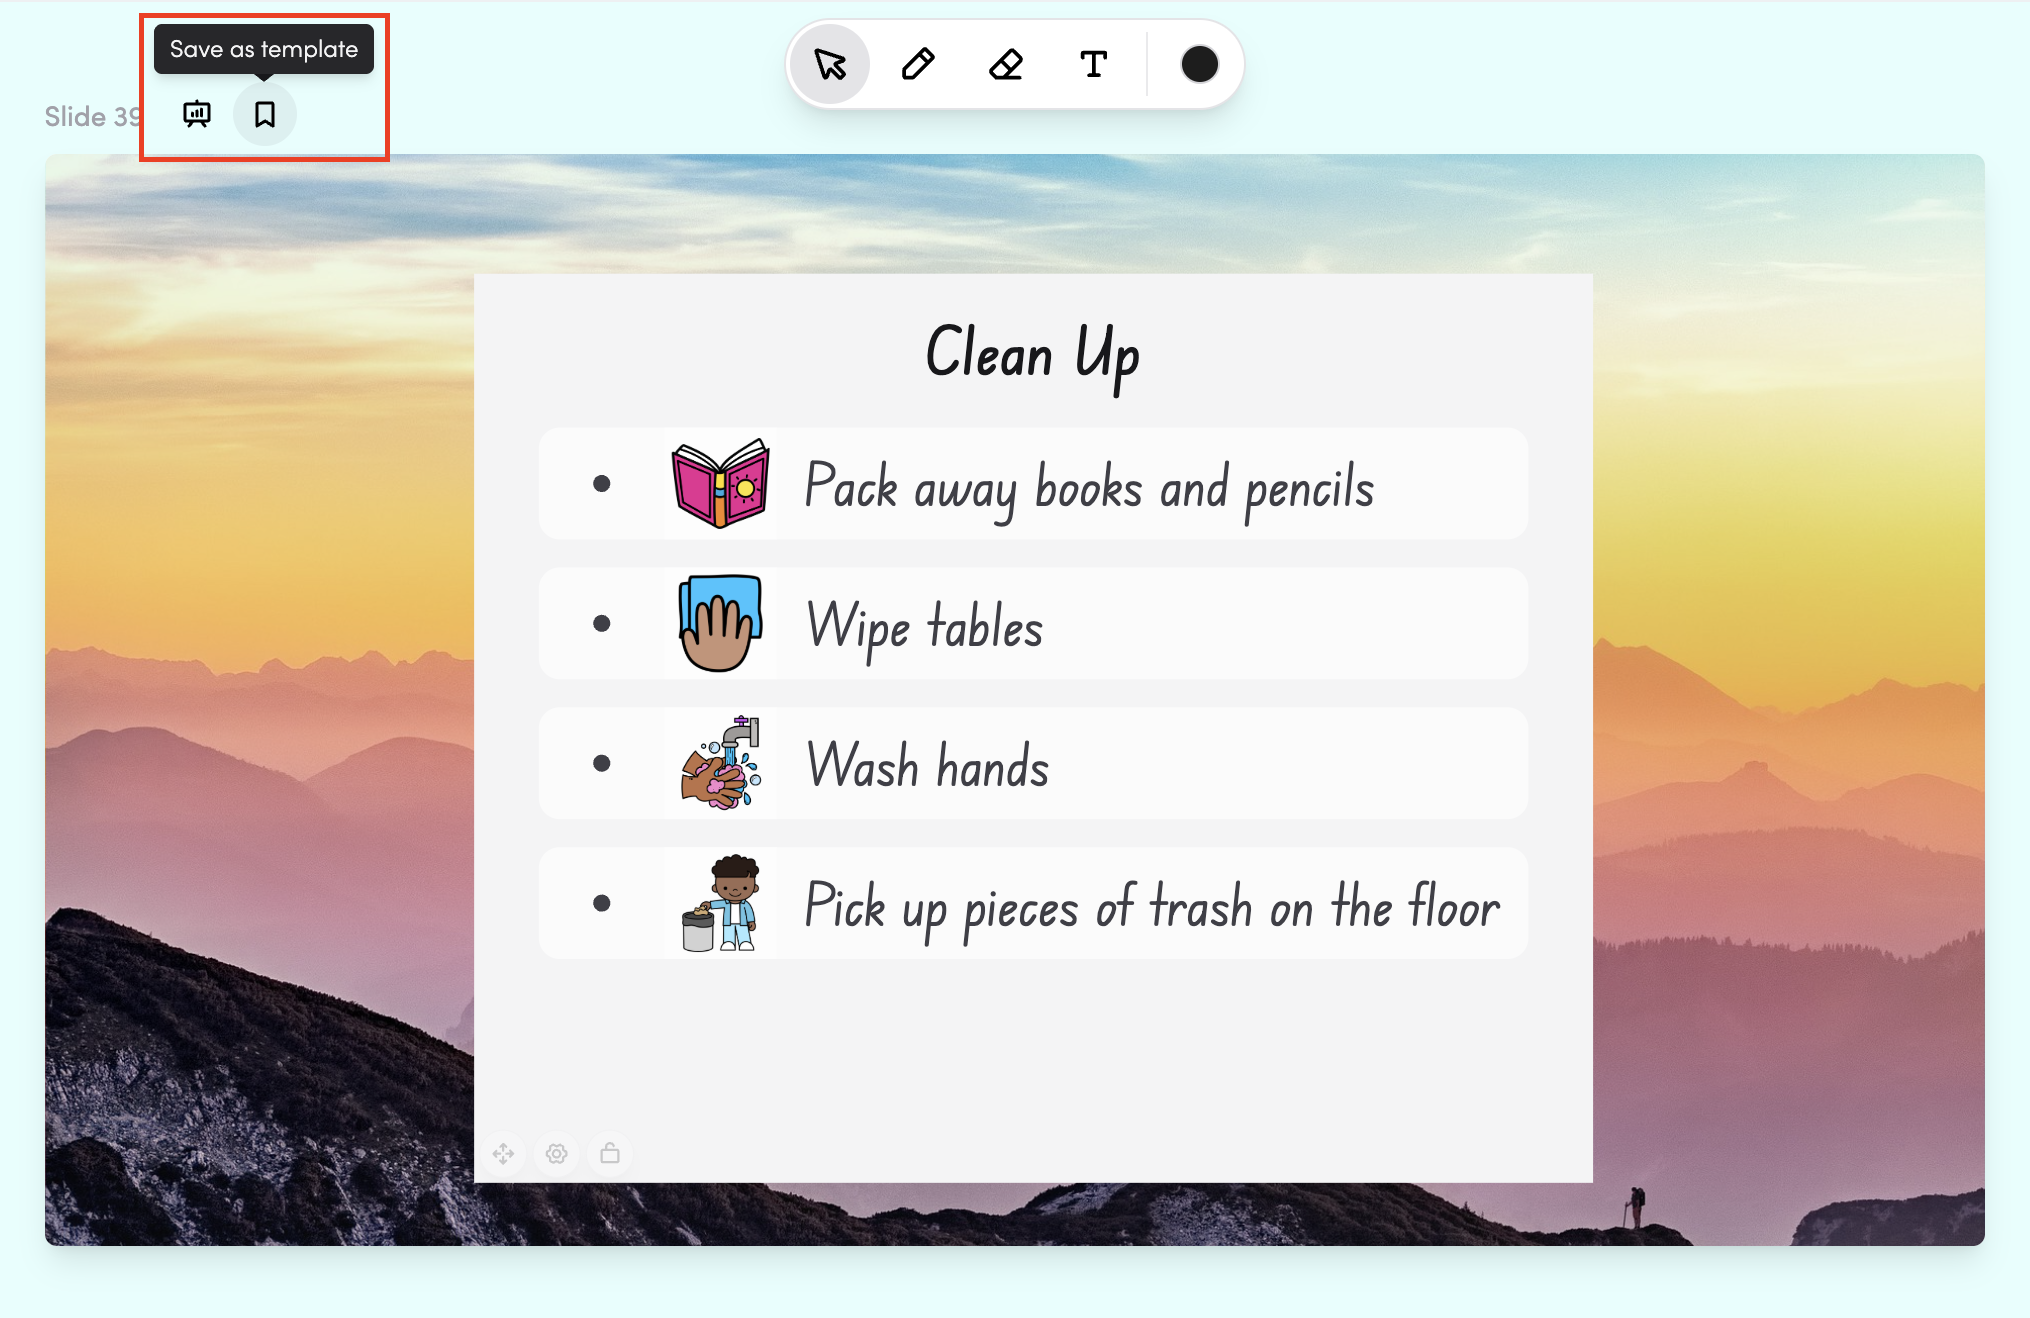
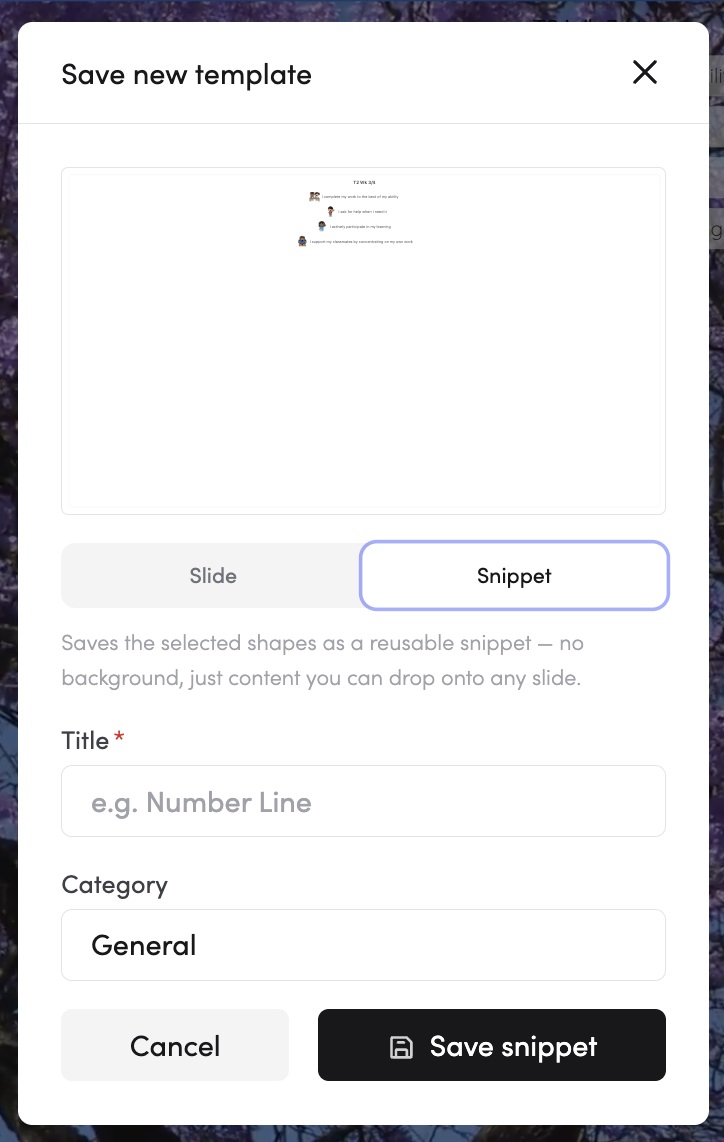
- In the 'Save new template' popup, select Snippet.
- Give it a title and choose a category (e.g. General).
- Tap Save snippet.
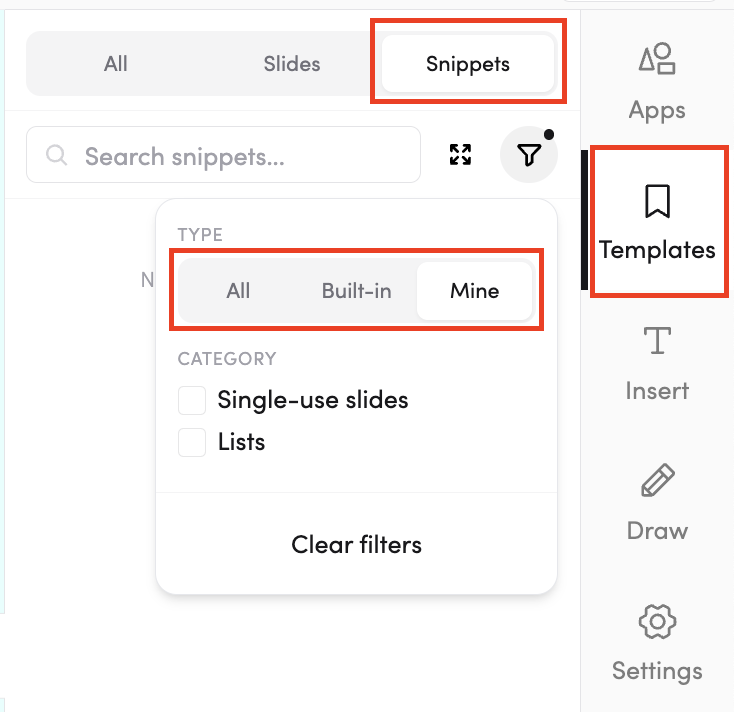
How do I find my saved list templates?
- Tap the Templates tab on the right-hand side panel.
- Switch to the Snippets tab at the top.
- Tap the filter icon to narrow your search — you can filter by type (All, Built-in, or Mine) and by category (Single-use slides or Lists)